Your first project
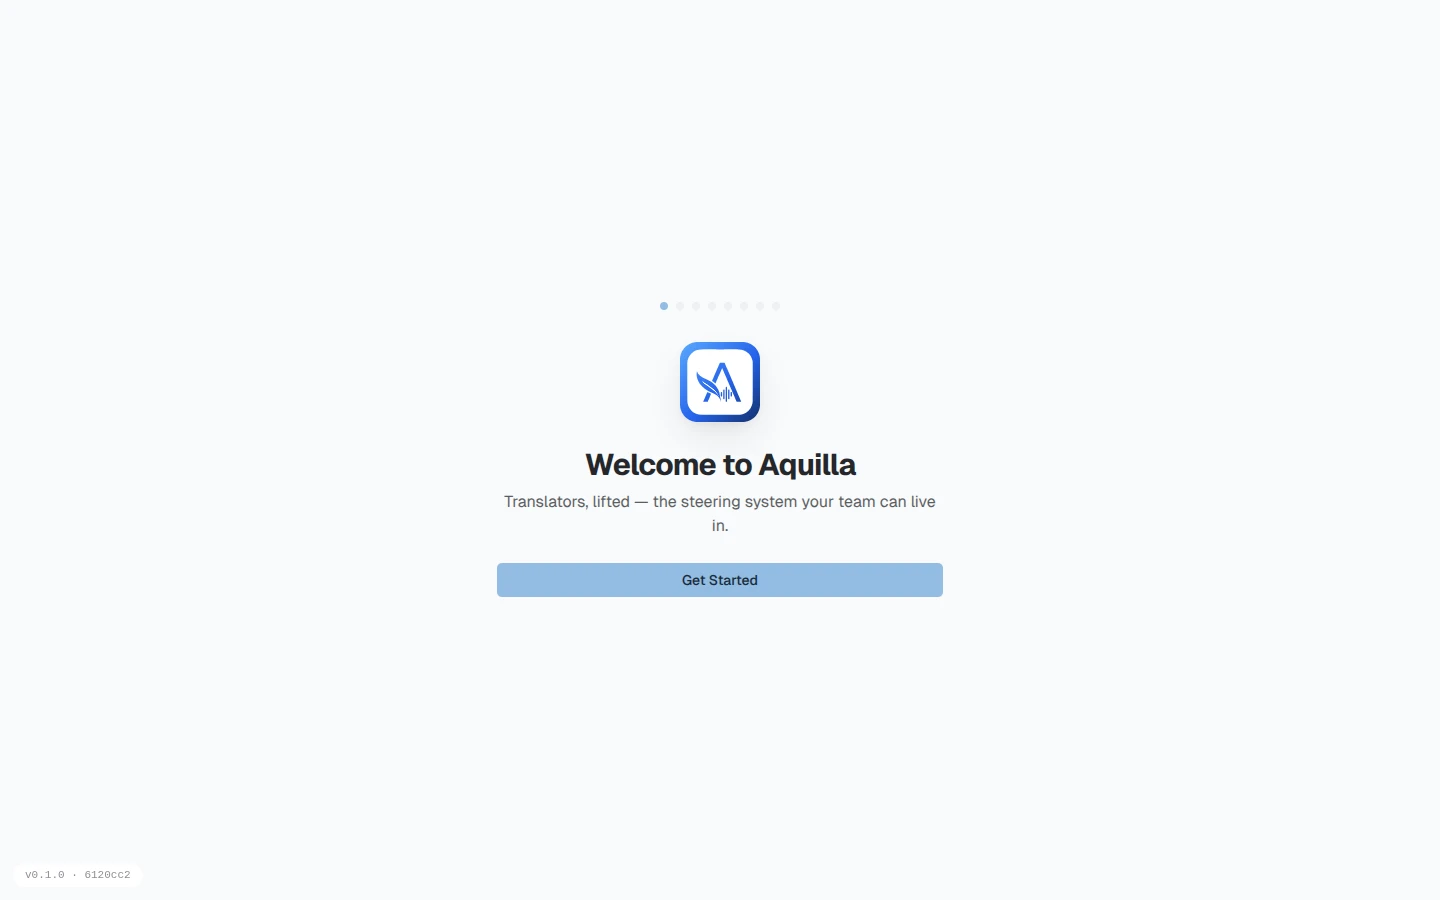
The first time you use Aquilla, a short onboarding wizard walks you from a welcome screen through signing in to creating your first project: a few quick steps, and you’re in.
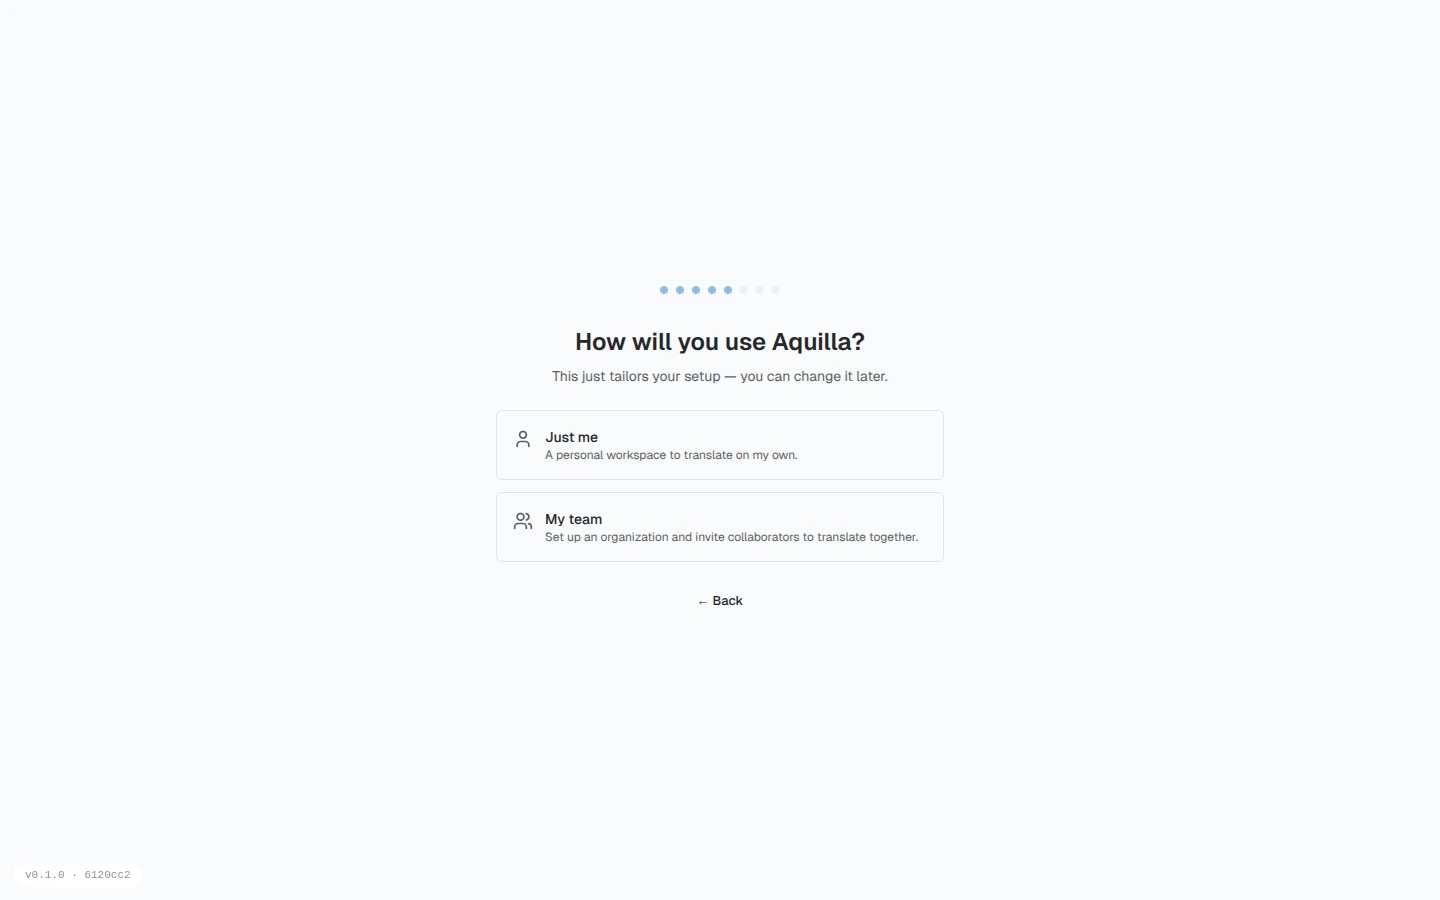
Along the way it asks how you’ll use Aquilla: choose Just me for a personal workspace, or My team to set up an organization and invite collaborators before your first project.
If you reached the wizard from a pricing link with a plan already chosen, a note above the wizard says: “Your selected plan and billing interval will be reviewed after setup. No purchase occurs during setup.”
Create or join
Section titled “Create or join”- Create a new project if you’re starting fresh: you’ll pick a name and the source and target languages (see below).
- Join an existing project if a teammate sent you an invite link. Opening the link signs you in (or registers you) and drops you straight into the project with the role they granted. See Inviting people.
Creating a new project
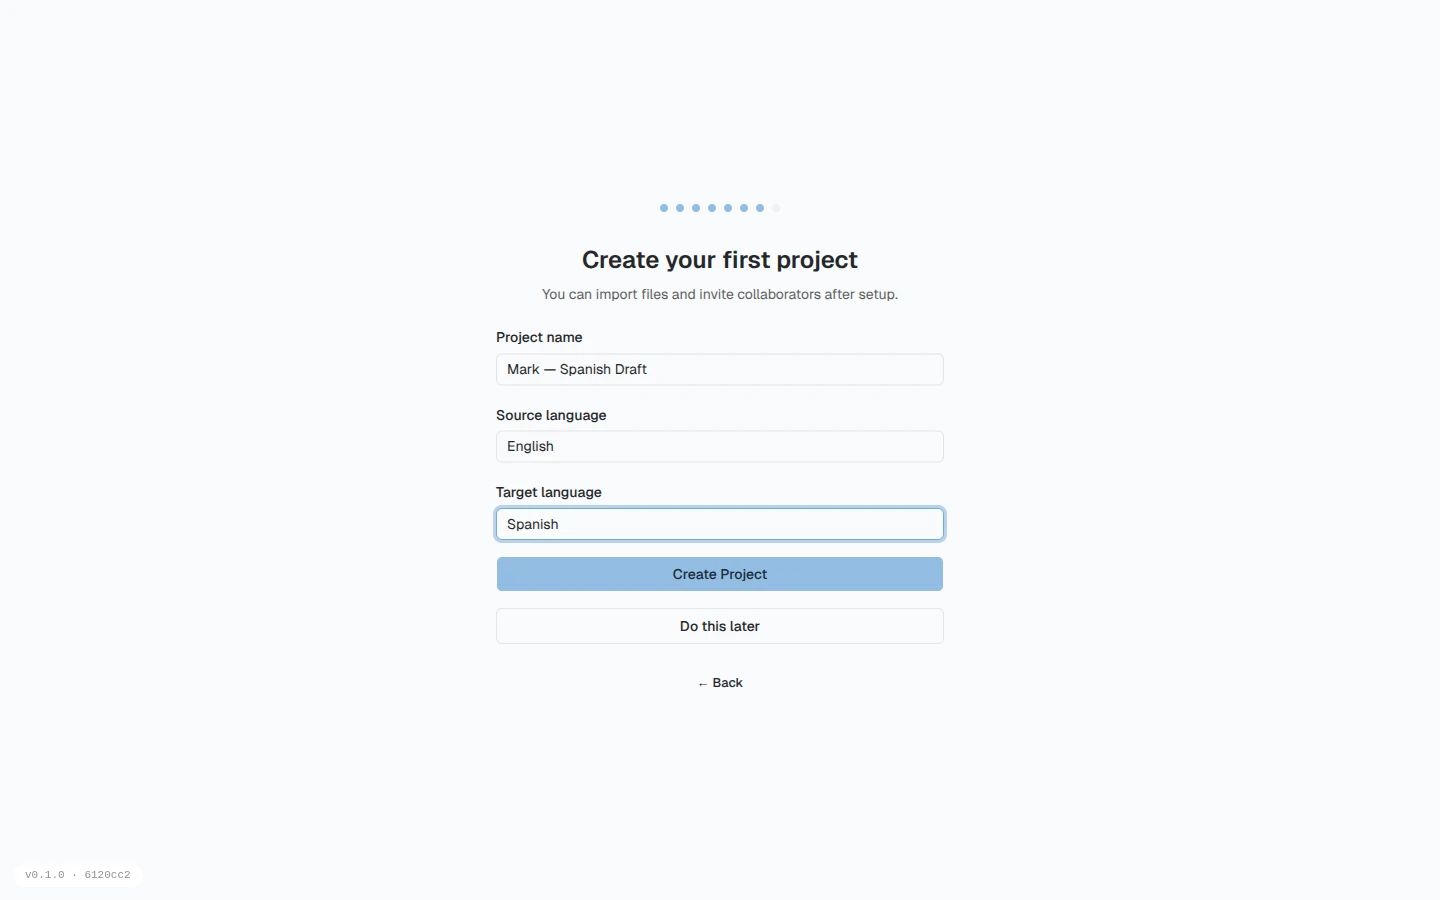
Section titled “Creating a new project”Choose Create Project and you’ll be asked for:
- a project name,
- a source language (what you’re translating from),
- a target language (what you’re translating into; you can add more languages later, see Creating a project), and
- optionally, a project shape: including linking to a shared source project (see below).
When you’re done, the project appears on your organization’s Projects page with its translated, validated, and audio progress and a last-updated date (see Project health for how progress is judged).
For the full set of options, see Creating a project.
Joining via an invite link
Section titled “Joining via an invite link”If someone shares an Aquilla invite link with you:
- Click the link.
- Sign in, or register if you don’t have an account yet.
- You’re added to the project automatically, with the role baked into the link (viewer, reviewer, contributor, and so on).
Finishing setup
Section titled “Finishing setup”Once you have a project open, a Project setup checklist (you can reopen it any time from the Setup button in the sidebar) walks you through a few quick steps so imports, AI suggestions, voice, and your team are ready before you start:
- Import files: bring in your source text first; everything else works on specific files.
- Set translation instructions: a short system prompt that shapes the copilot’s tone and style for everyone on the project.
- Invite collaborators: share a link so translators and reviewers can join.
- Configure voice & transcription: pick a text-to-speech engine and you’re set for listening and transcribing. Pasting an API key confirms it saved (or flags it if it doesn’t look right) instead of saving silently, and a downloading voice model shows real progress (for example “50% · 70 MB / 140 MB”). Don’t need voice or transcription yet? We don’t use voice or transcription — skip this is right there, and it’s reversible: Set up anyway brings the step back later.
- Set project standards: style guides and translation standards the AI will follow. This row is a link: Open standards takes you to where you set them.
- Import terminology: existing term lists (CSV, TBX, LIFT) to keep terminology consistent. Open terminology takes you to the terminology page.
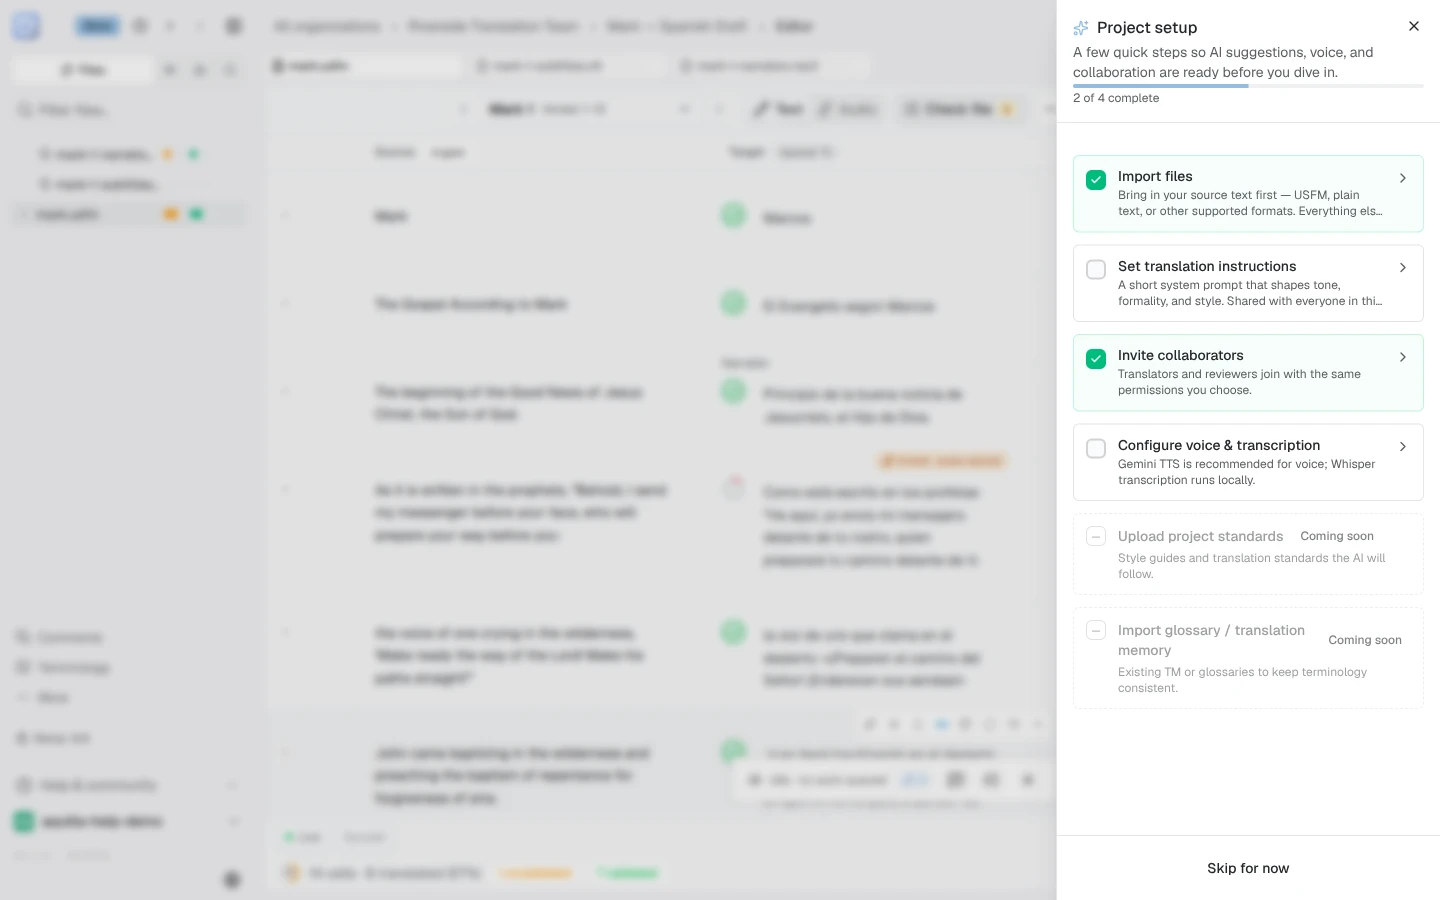
The checklist shows how many steps you’ve completed and never pressures you to finish: skip anything that doesn’t apply yet.
What’s next
Section titled “What’s next”With a project open, get oriented with A tour of the workspace.
Help assistant
AI answers from the Aquilla docs — may make mistakes.